Today I was given an Evaluation of Lync 2013 and asked to install it in a Lab setting to have a look at it.
So to get started, I spun up a Virtual 2008 R2 SP1 server, got it patched, assigned a static IP, and joined it to the lab domain. I spun up a 2nd 2008 R2 server and assigned it to the DMZ with a static 1 to 1 NAT to an external IP (this will become the Lync Edge Server).
I’m using the Technet Evaluation DVD for office 2013. Lync 2013 is found on the CD in the LyncServerStandard Folder, or you can grab the Eval right from the MS website. However you get it, place it somewhere your server can get to it. Mine went right onto the desktop.
Some Prereqs for this install.
- Install the .Net 4.5 Framework. You need to Download this from MS website here
- Powershell V3.0. You need to download this from the MS website here
- Windows Identity Foundation. You need to download this from the MS website here
- You need Patch from KB 2646886. You need to download this from the MS website here
- IIS 7 Server role must be enabled
- Install MS Visual c++ 2012 x64 Runtime. This will be done by the setup if you don’t already have it.
- For 1st installs, you need AD administrative tools (to extend the Schema). It’s installed from Server Manager -> Features -> Add Feature -> Remote Server Administration Tools
- You will need a shared folder on a host to use during the Front End Pool Setup. i.e. \servershare should be available.
- Serveral features are needed as well, these can be installed from the PowerShell using the following command
Add-WindowsFeature RSAT-ADDS, Web-Server, Web-Static-Content, Web-Default-Doc, Web-Http-Errors, Web-Asp-Net, Web-Net-Ext, Web-ISAPI-Ext, Web-ISAPI-Filter, Web-Http-Logging, Web-Log-Libraries, Web-Request-Monitor, Web-Http-Tracing, Web-Basic-Auth, Web-Windows-Auth, Web-Client-Auth, Web-Filtering, Web-Stat-Compression, Web-Dyn-Compression, NET-WCF-HTTP-Activation45, Web-Asp-Net45, Web-Mgmt-Tools, Web-Scripting-Tools, Web-Mgmt-Compat, Desktop-Experience, Telnet-Client
Now the Installer begins:
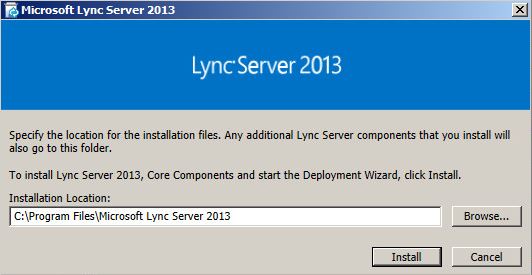
Pick your Location and hit install
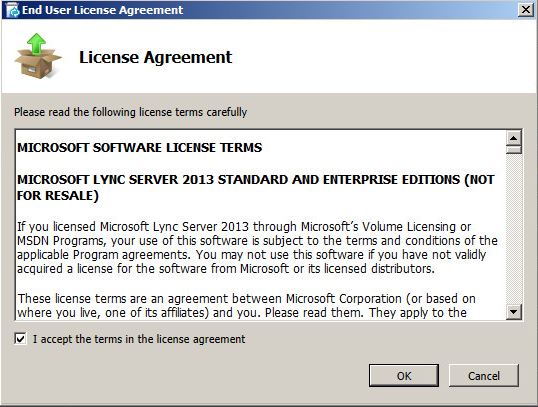
Agree to the EULA
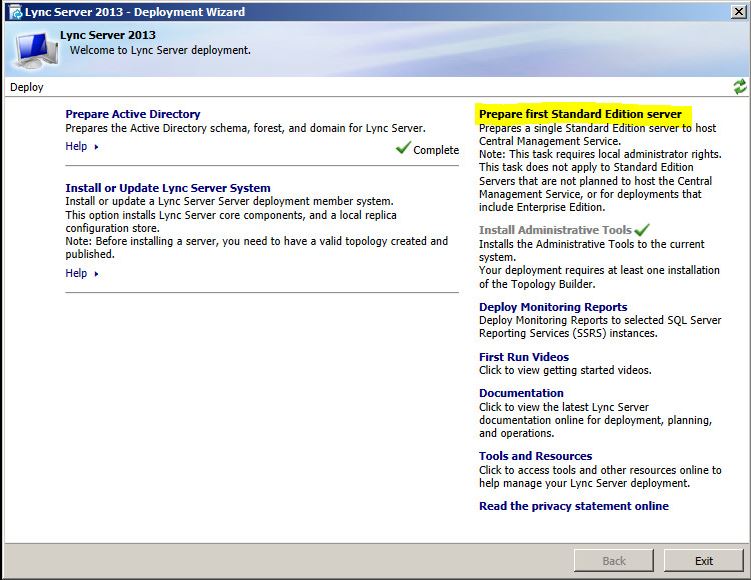
Lync 2013 has a required AD Schema extensions to the AD must be prepped. Click on Prepare Active Directory to start.
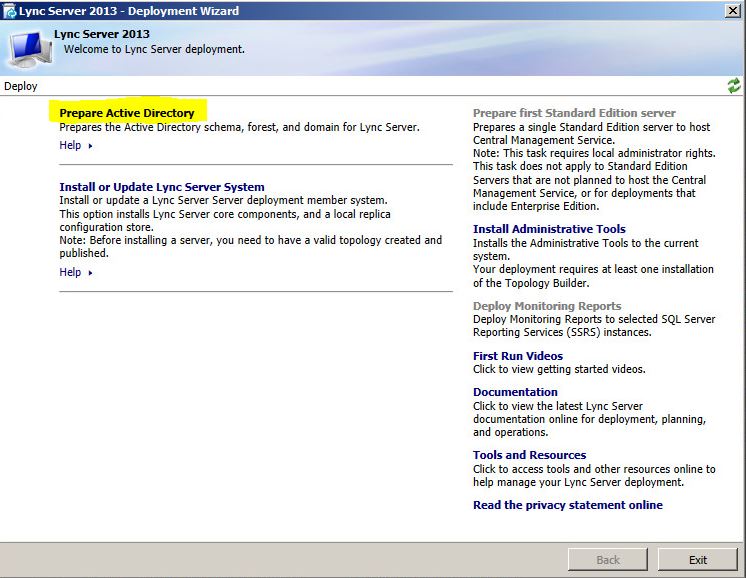
This will run the Deployment wizard. These are several steps you must take to prepare the domain for the Lync 2013 install. If you have used Lync 2010, this should look very familiar.
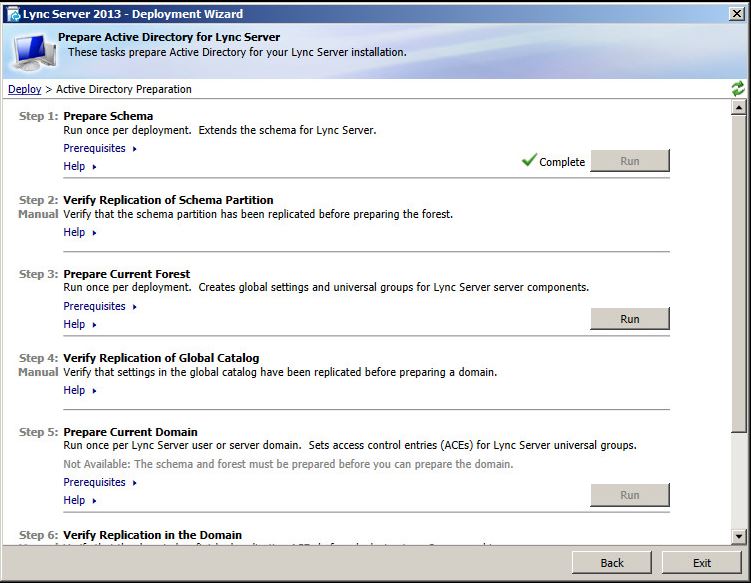
Once the Wizard is complete, you will find a new AD group called CSAdministrator. Members of this group get administrative access to the Lync Server.
Hit BACK when complete.
On the right hand side, you will see install items for additional components.
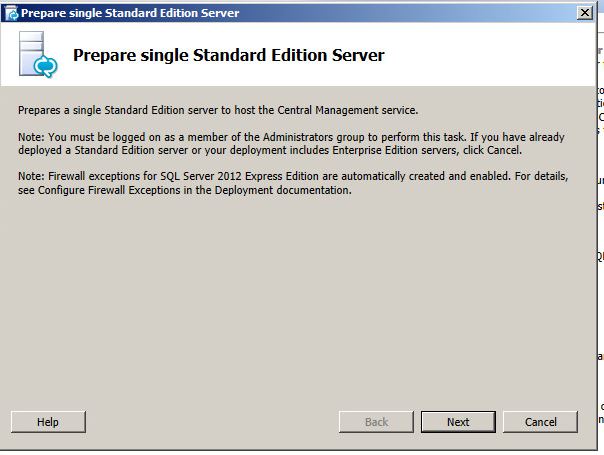
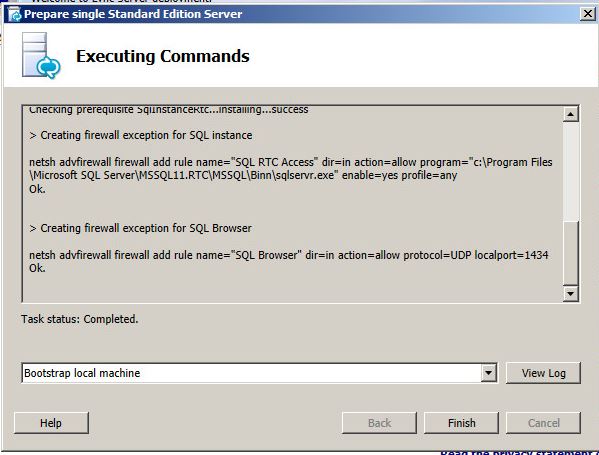
If this is the 1st server, then click on the Prepare First Standard Edition Server
Click Next through the info screen and wait for it to complete.
Set up Lync Server Components
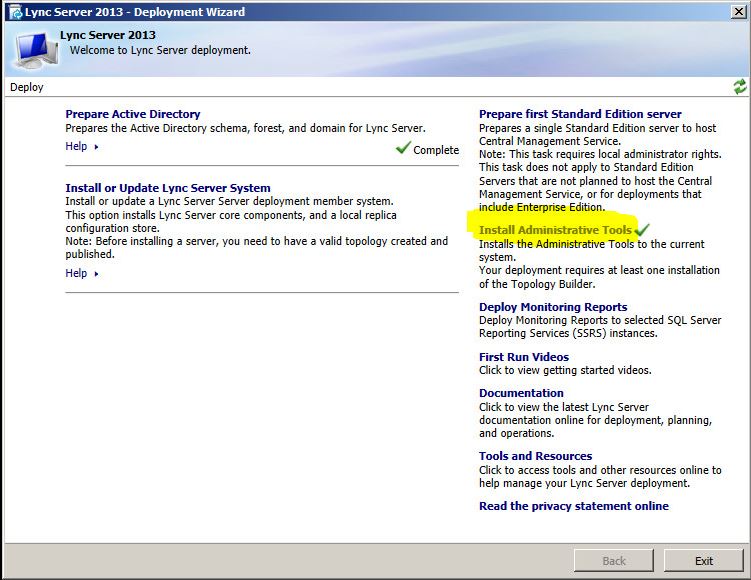
Next you will want to install the Admin tools. These tools will include the Topology builder which you need to use before installing the Server System components. The tools will install withour any additional input.
Launch the Topology Builder that was installed with the admin tools.
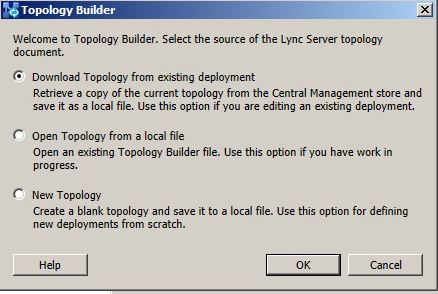
When you launch, the Topology builder will ask if you want to Import, Load, or Create a New Topology. Make the appropriate selection based on your situation. If this is your 1st Lync server, you will, of course, want to pick a New Topology.
For this basic setup, we will use the single server as the Front-End Server, A/V Conference, and mediation pool servers. In a production environment, you could install these roles onto different servers or into pools as needed.
- Right click on Standard Edition Front End Server -> New Front End Pool.
- Click Next Past the Welcome screenhyrule
- Enter the FQDN of the server you will use for the install. For 1st Timers, it will probably be the same server you are on now.
- Select the Features for this install. IM and presense are included by default, but you can select additional features as needed. With enterprise voice, you can integrate Lync with other 3rd party VOIP providers like Cisco CUCM, but I’ll cover those integrations in a future post.
- For this lab install and most small installs you can Collocate the Mediation Server on the Front End Server.
- Select Enable an Edge Pool. Later on we will use a 2nd host in the DMZ to enable external IM and features.
- For this Standard Install, local SQL is used, so hit Next.
- Define the file Store. Here you enter the shared folder info that we created earlier in the pre-reqs.
- Web Services – Internal and External URLs should be defined here. You can leave this as the default if you are unsure.
- If you have an Office Web Apps Server, you can associate it with Lync here, otherwise, clear the checkbox.
- Front End Edge Pool. The Edge Servers sit in the DMZ and accept traffic from the public internet. Here we are pausing the front end server config and will define the edge server config. Click NEW and and then follow these steps below to setup the edge host. We will continue with the Front end pool when the Edge is completed.
We need to sidetrack here and create the Front Edge Server Pool. This server will sit in the DMZ and listen for traffic from the public internet.
- Right click on Edge Pool -> Select New Edge Pool
- Define the FQDN. Something like sipedge.company.com or lyncedge.company.com would be a good choice. Select whether it’s single or multiple. For this setup, we use single.
- Select 1st option to use a single FQDN and IP so that 1 edge pool server will handle all traffic.
- IP Options – leave these at ipv4. If the edge pool is behind a NAT, check that box. You will need to provide the Public IP info for that NAT later.
- External FQDN – Here you will specify the FQDN’s for the services. sip.company.com or lync.company.com are good choices. Later on, we will tie all the FQDNs together with DNS.
- Internal IP – Enter the internal IP of the edge server.
- External IP – Enter the external NAT IP of the edge Server
- External AV IP – Enter the external NAT IP of the edge Server again. WE are using a single server/ip for all services.
- Select the Next Hop – This will be the Front end Pool Server that we are creating.
- Done
… Continuing with the Front End Pool
- Select the Edge Server we just created
- Done.
Last thing you will want to do is take the topology you just defined and Publish it to the domain.
Right Click on Lync Server -> Publish Topology
Now that the topology is created we can begin the server installations.
Next step is to Install the Lync Server. Select that option back at the Deployment window:
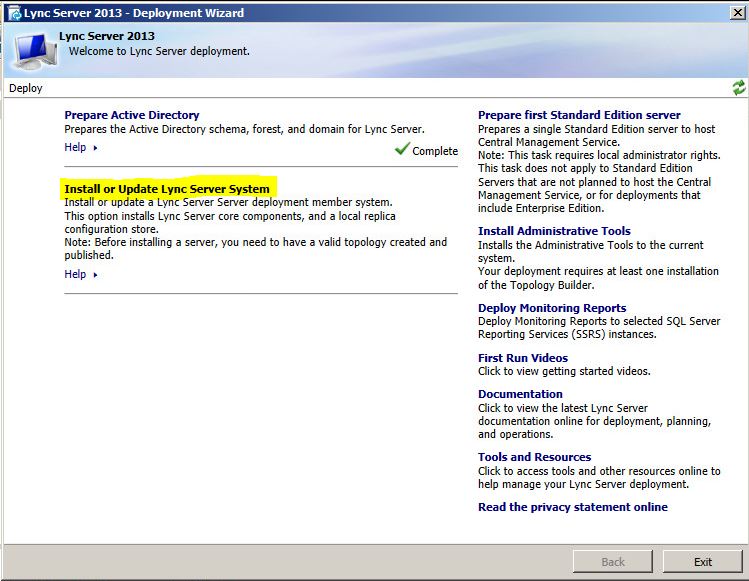
You should see another Deployment Wizard for the Server Installation.
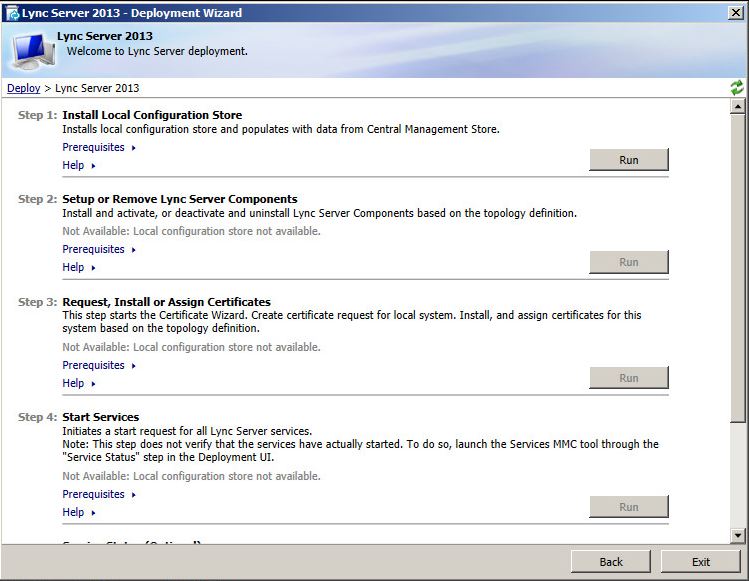
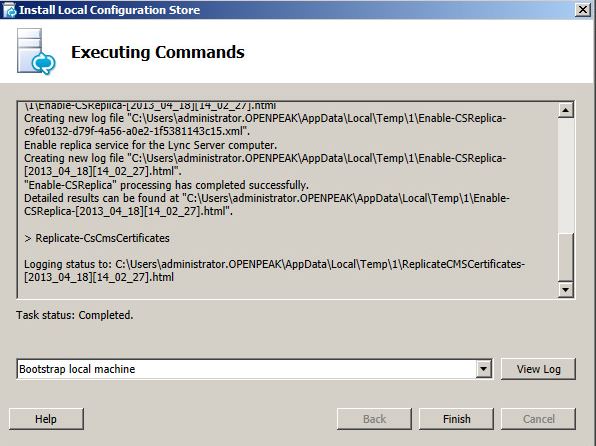
Install Local Config Store
Select the option to retrieve the information from the Central Management Store that you need. Most should be able to leave this at the default for this setup. Hit Next and let it complete.
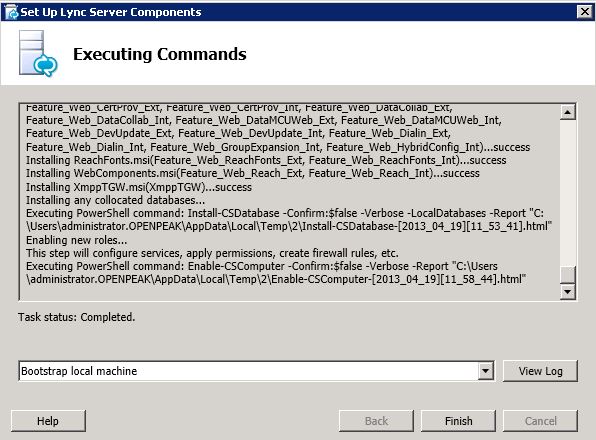
Setup Lync Server Components
This step pulls in the topology from the topology builder and installs the needed components to this host based on how you built the topology. Just hit Next and the server components will be installed. This might take a while….. Hit Finish when complete.
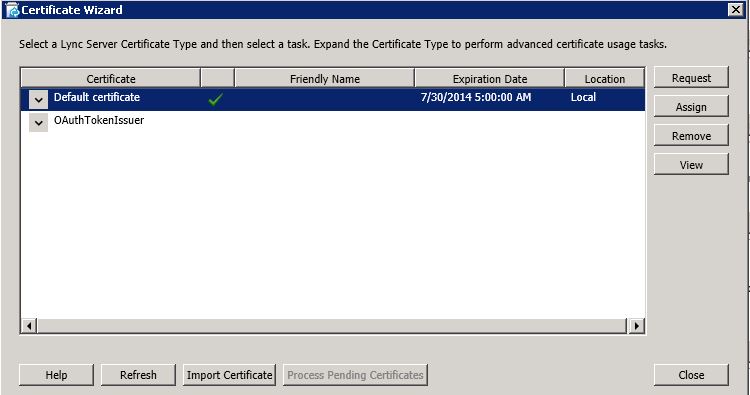
Request, Install, Assign Certificates
Lync requires a certificate for the server and the web services. Highlight and select the certs you want to request and hit the Request Button. This will generate the cert req to an online authority, or create the request file you can send via email or post to a form of an offline request.
Once you get, or if you already have a cert, click the Import button and browse to the location of the PFX or CER file.
After the Cert is Imported, you use the Assign button to assign a cert to each service, Default Cert and OAuthTokenIssuer. Select the Cert from the list, inspect the cert, then assign it.
Start Services
Finally, start the services to launch the Lync Server.
This should complete the Front End Pool Server.
You will need to run the same deployment wizard on the Edge Server as well before you are finished. Copy the setup folders to the edge server or have it access the setups somehow. Have the Edge host run through the same deployment wizard that we just ran through for the Front End host.